
Water Mesh
Mesh Mode
As of October 2026, some major changes have been made to the way EasyWaterscape handles the water surface mesh. Custom and Disc(Legacy) are the options that were available when EasyWaterscape launched, if you prefer to use those.
You’ll find the Mesh Mode dropdown menu in the details panel. You have three modes to choose from: 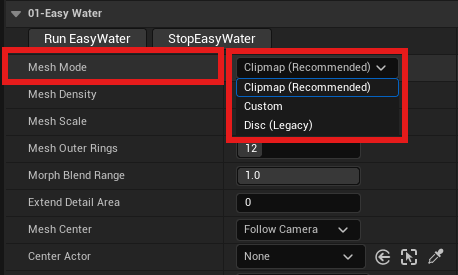
Clipmap
The new feature in the October 2026 Update, and the new default. Clipmap spawns a mesh that is densest nearest the camera, and quickly optimizes the mesh the further away it is, you can adjust its triangle density (for very fine detail) and how far from the camera the mesh remains dense until it begins to tessellate and fade away. It allows granular control over the exact triangle density you want, or can afford, for a given project.
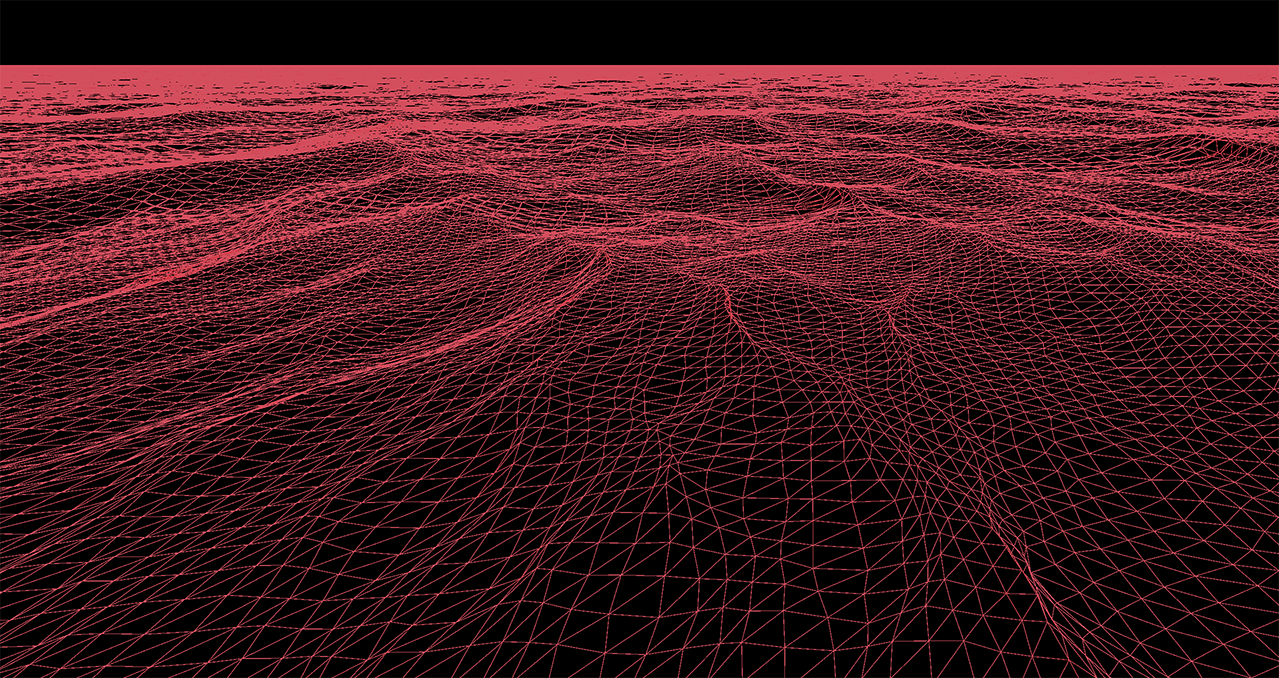
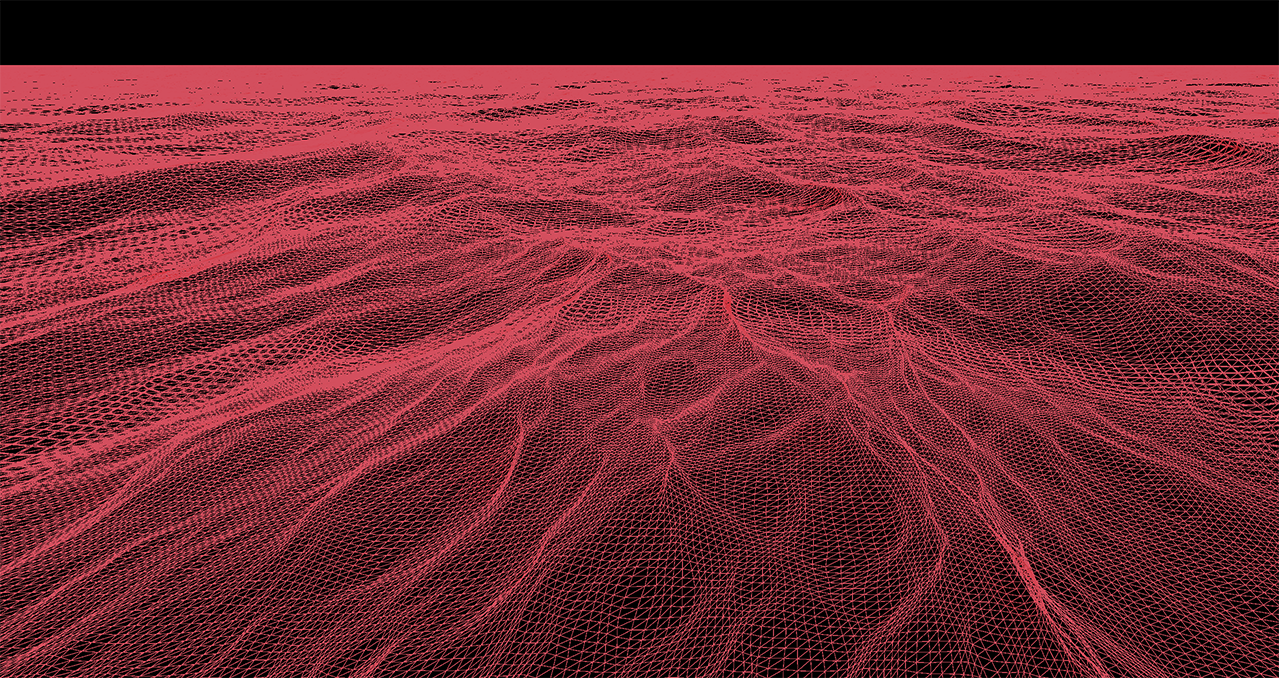
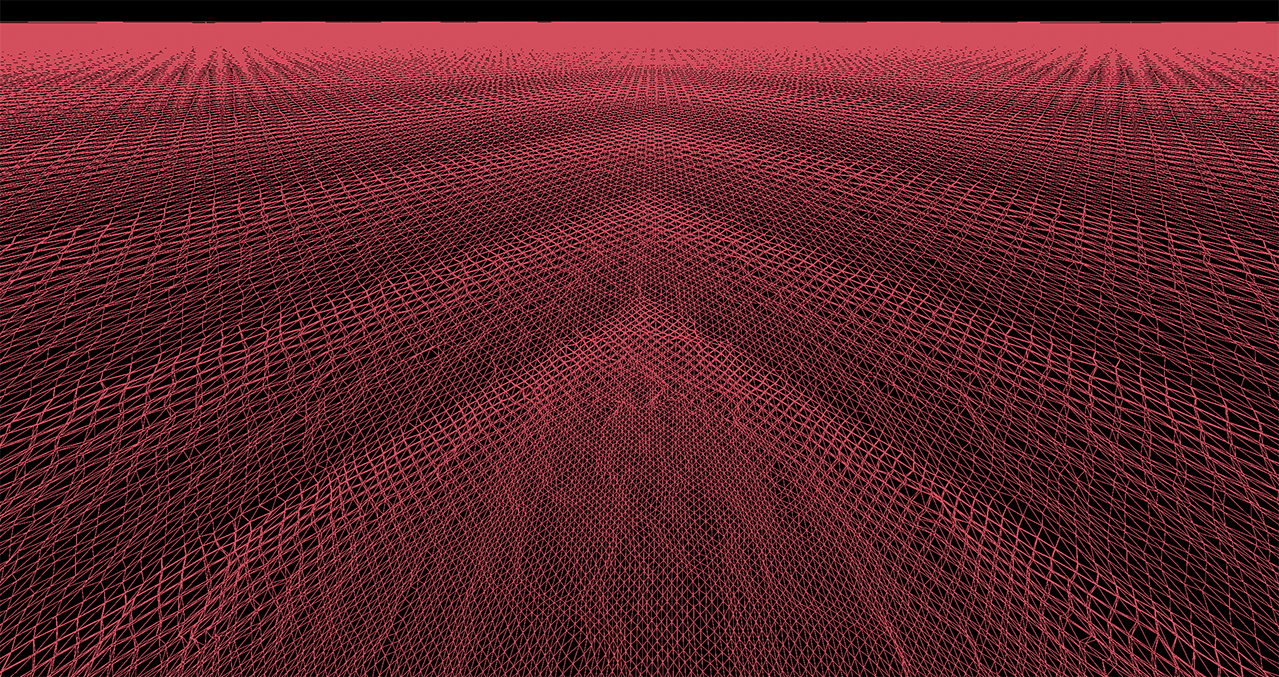
Main benefits of the clipmap approach is proper TSR support, resulting in far less smearing when running Unreal at lower screen percentages. Gives you a much cleaner result. It also has a much lower memory footprint than the legacy option.
The following variables in EasyWaterscape’s detail panel ONLY affect Clipmap. These will have no effect on Custom or Disc(Legacy) mode:
Mesh Scale
Extend Detail Range
Mesh Ring Count
Morph Blend Range
WARNING
In Unreal Engine 5.7, when you change the viewport mode to Wireframe, you can see everything as intended. Water displaces the wireframe, you can see the tessellation, it looks gorgeous.
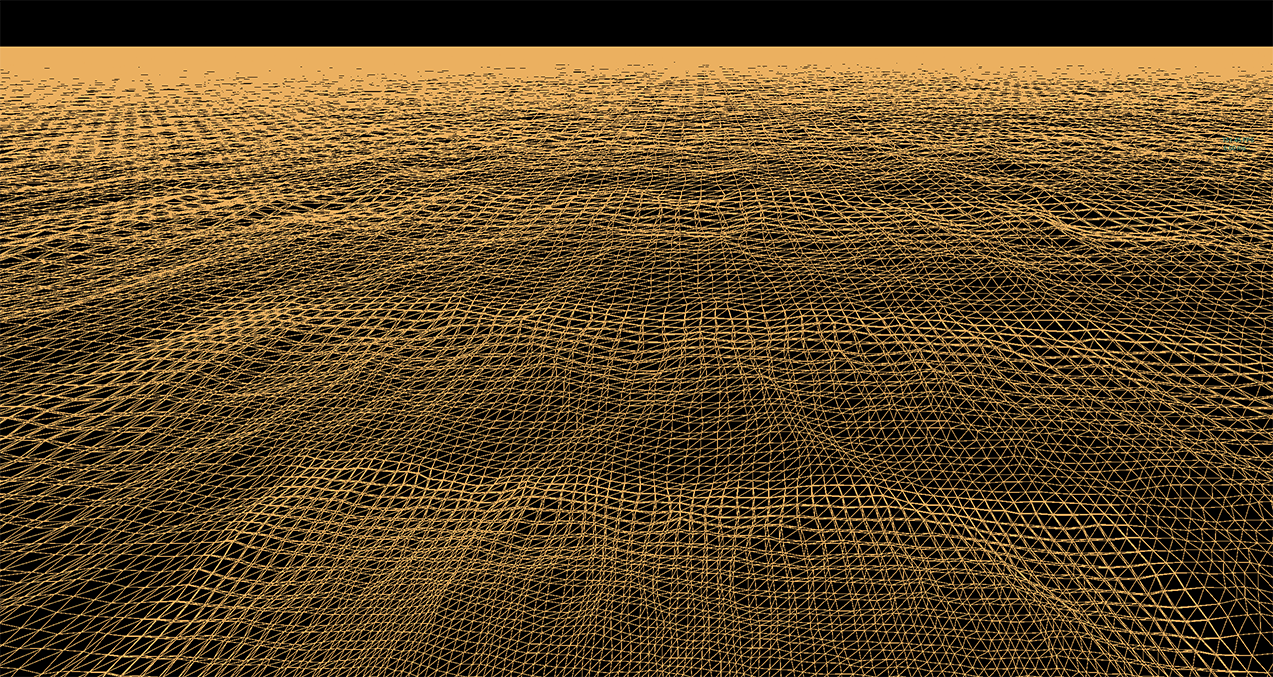
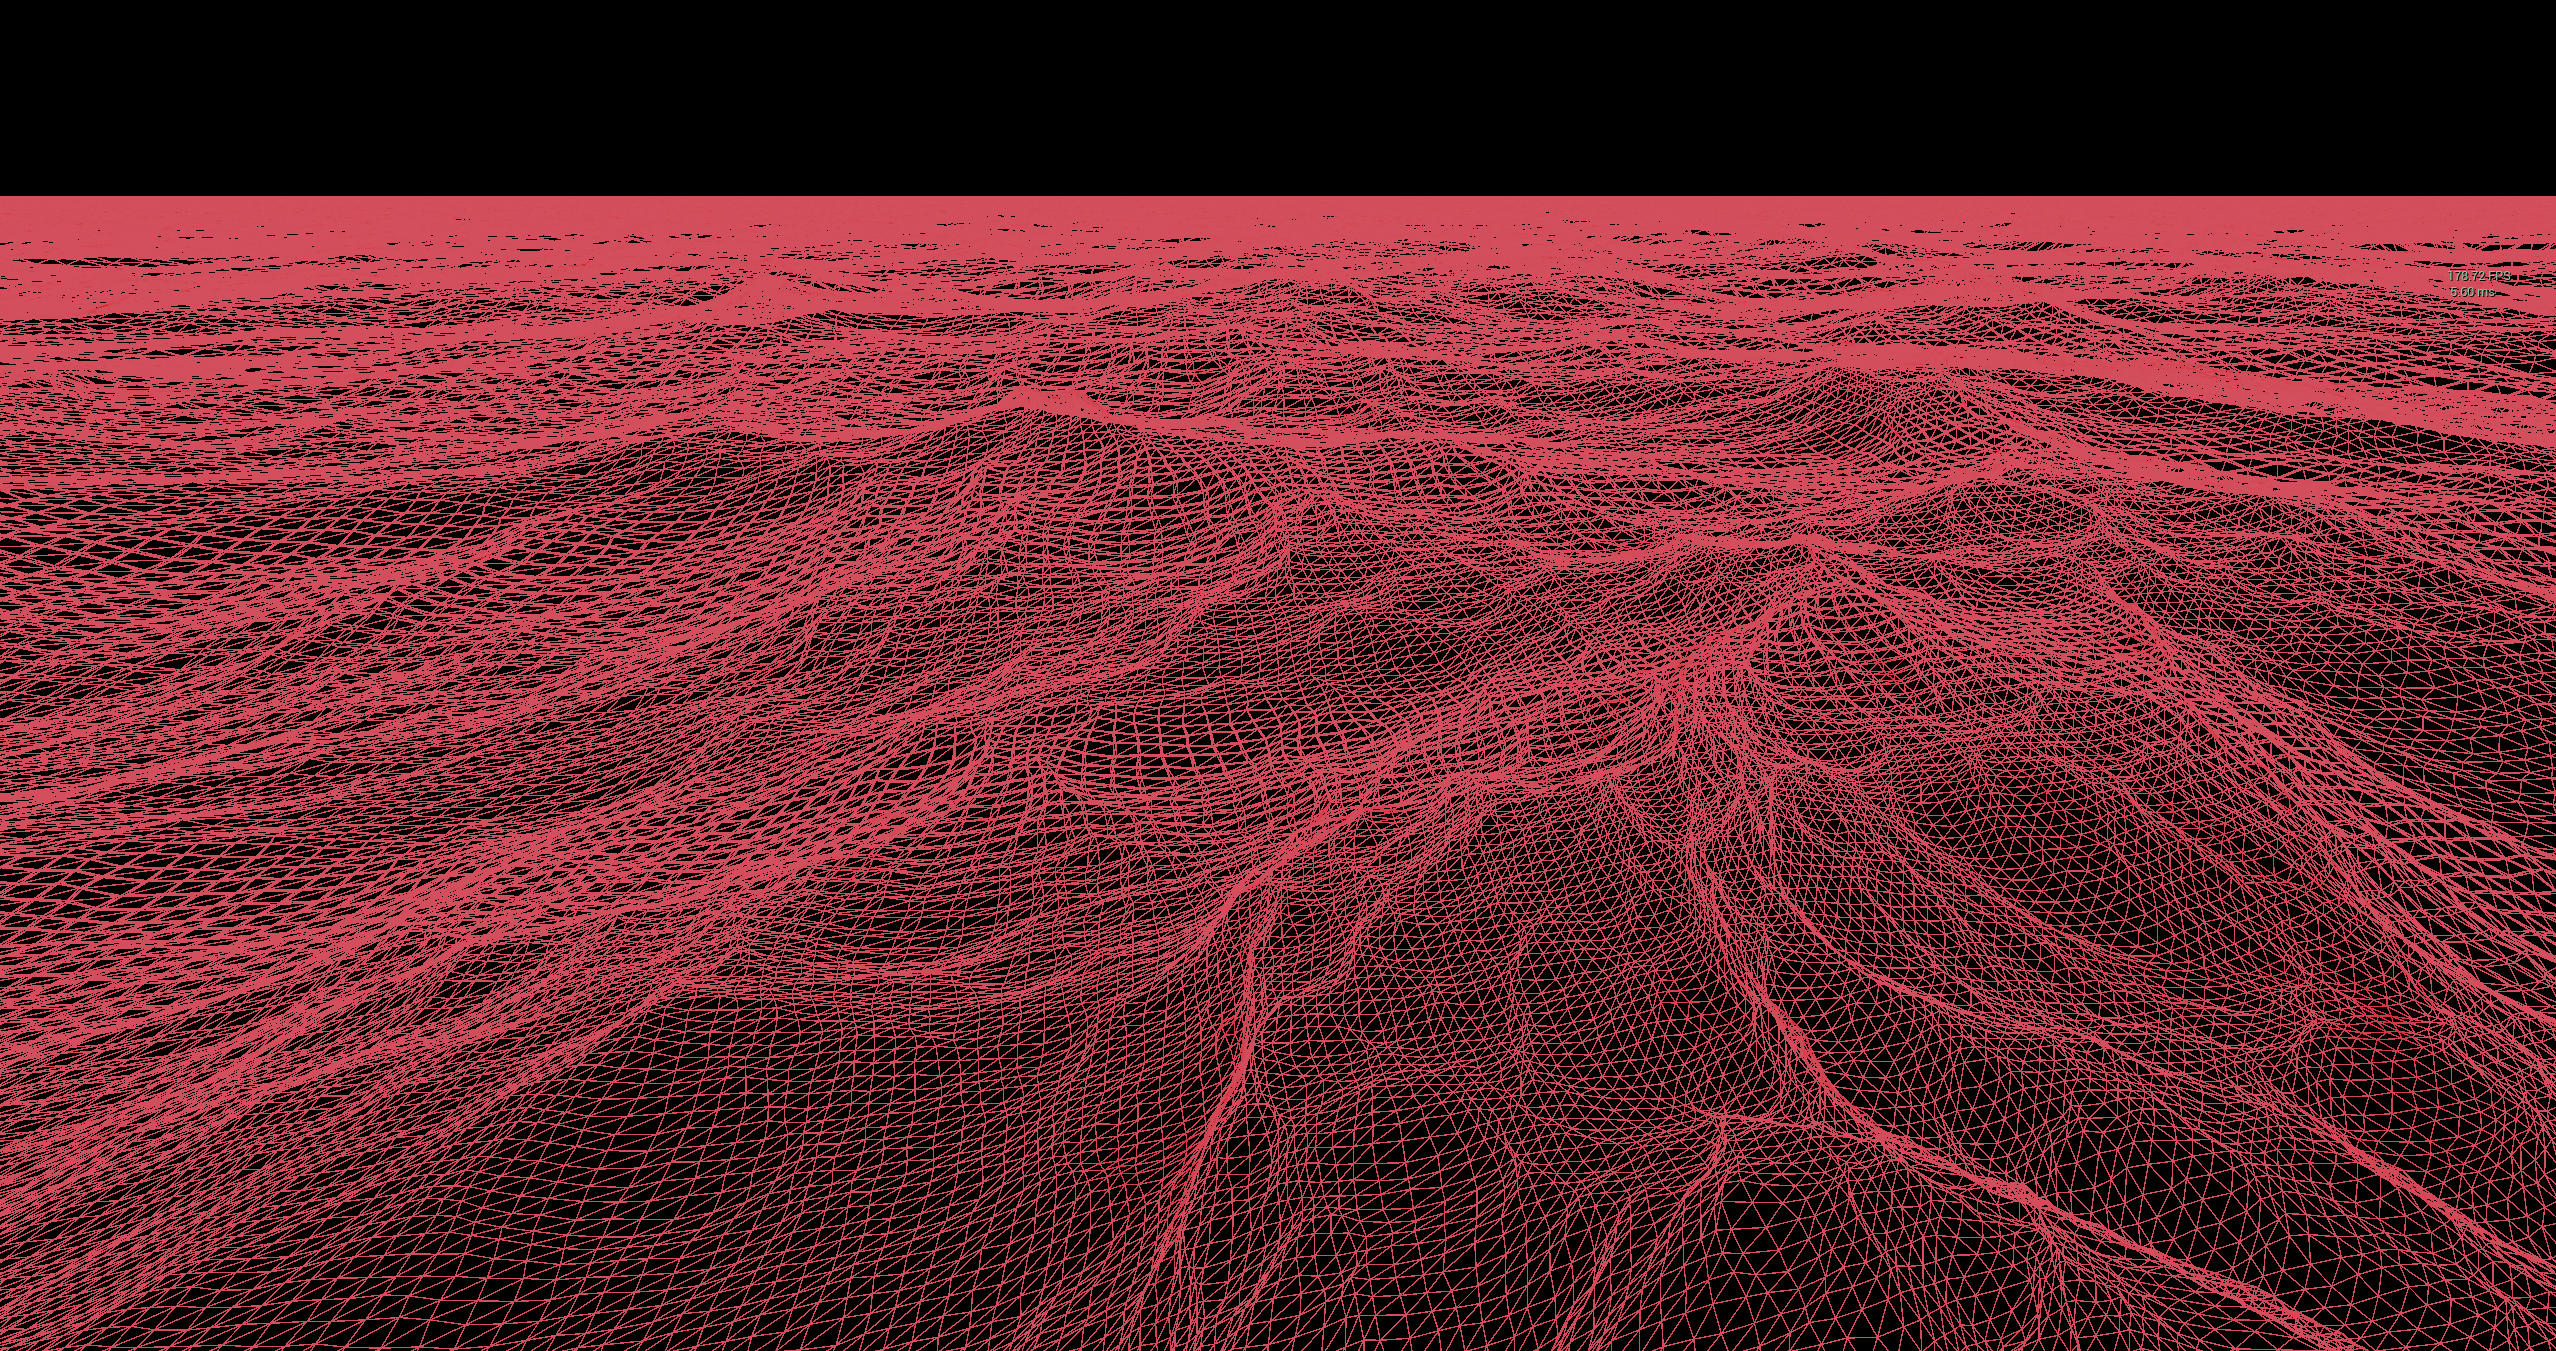
Unreal Engine 5.8 underwent some code changes that break this functionality, and you can no longer see displacement in wireframe mode. Don’t worry if you see a flat plane and harsh borders, this does not mean that the tessellation is not working (it is), it’s just not visible in wireframe mode. See below.
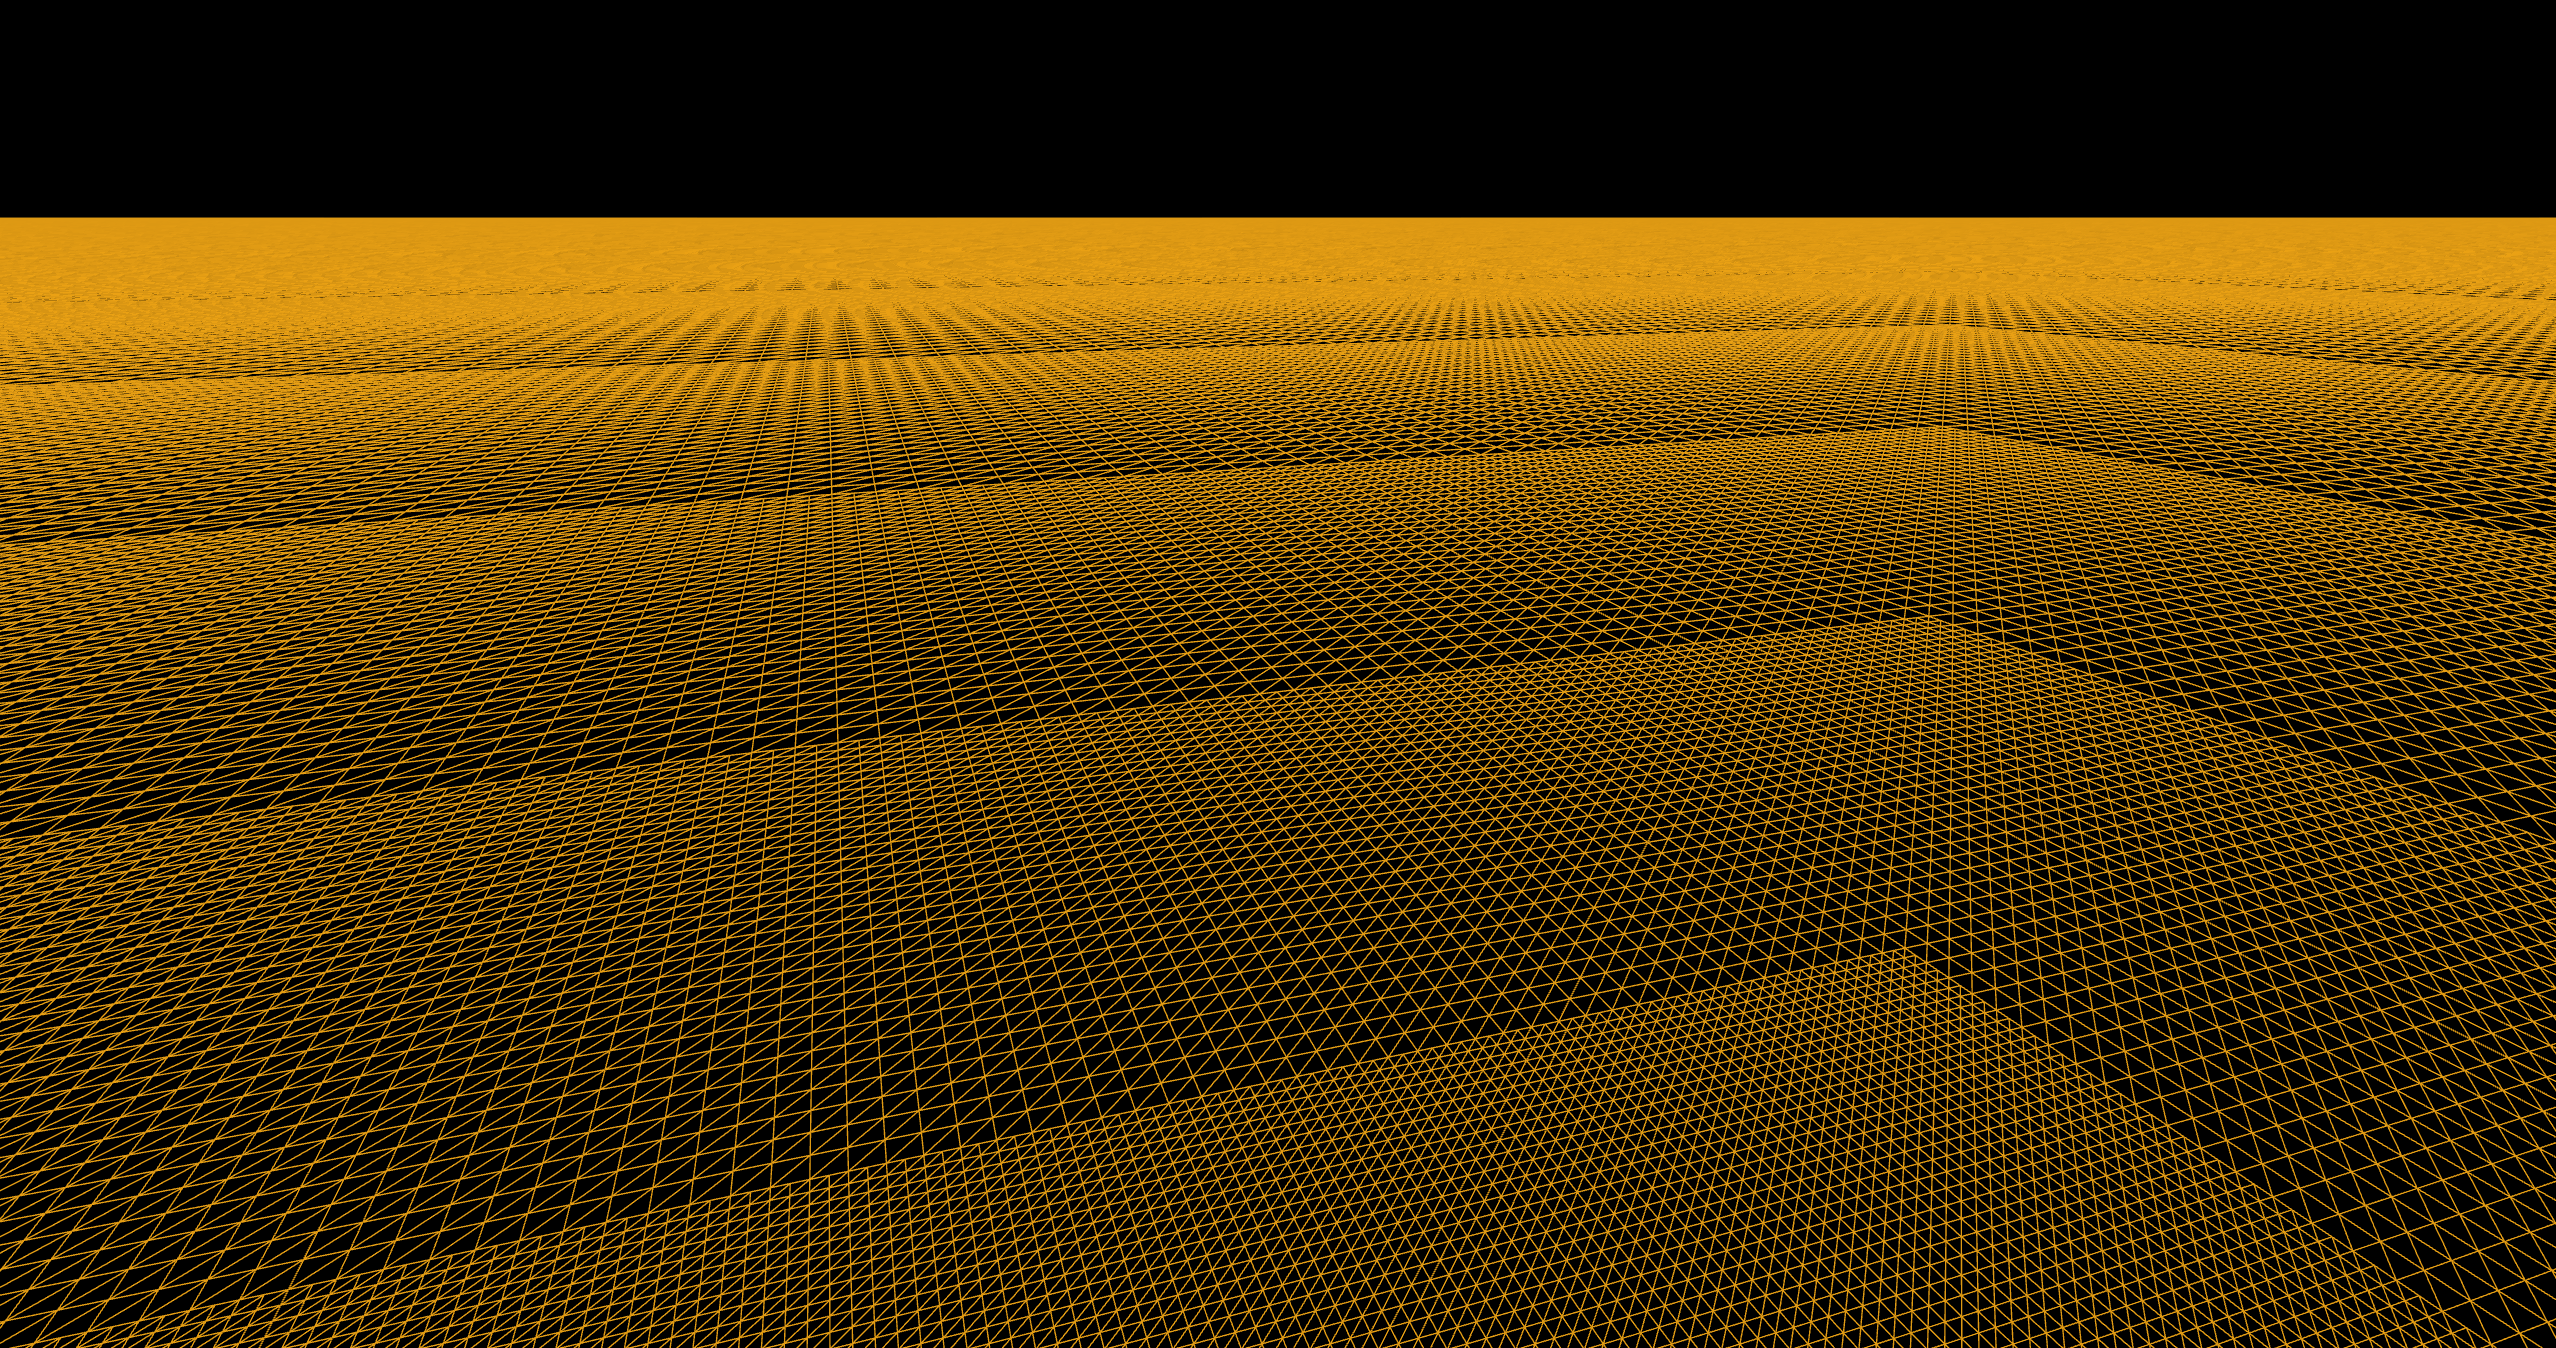
The wireframe mode issue is purely aesthetic and has no impact on the final result.
Custom
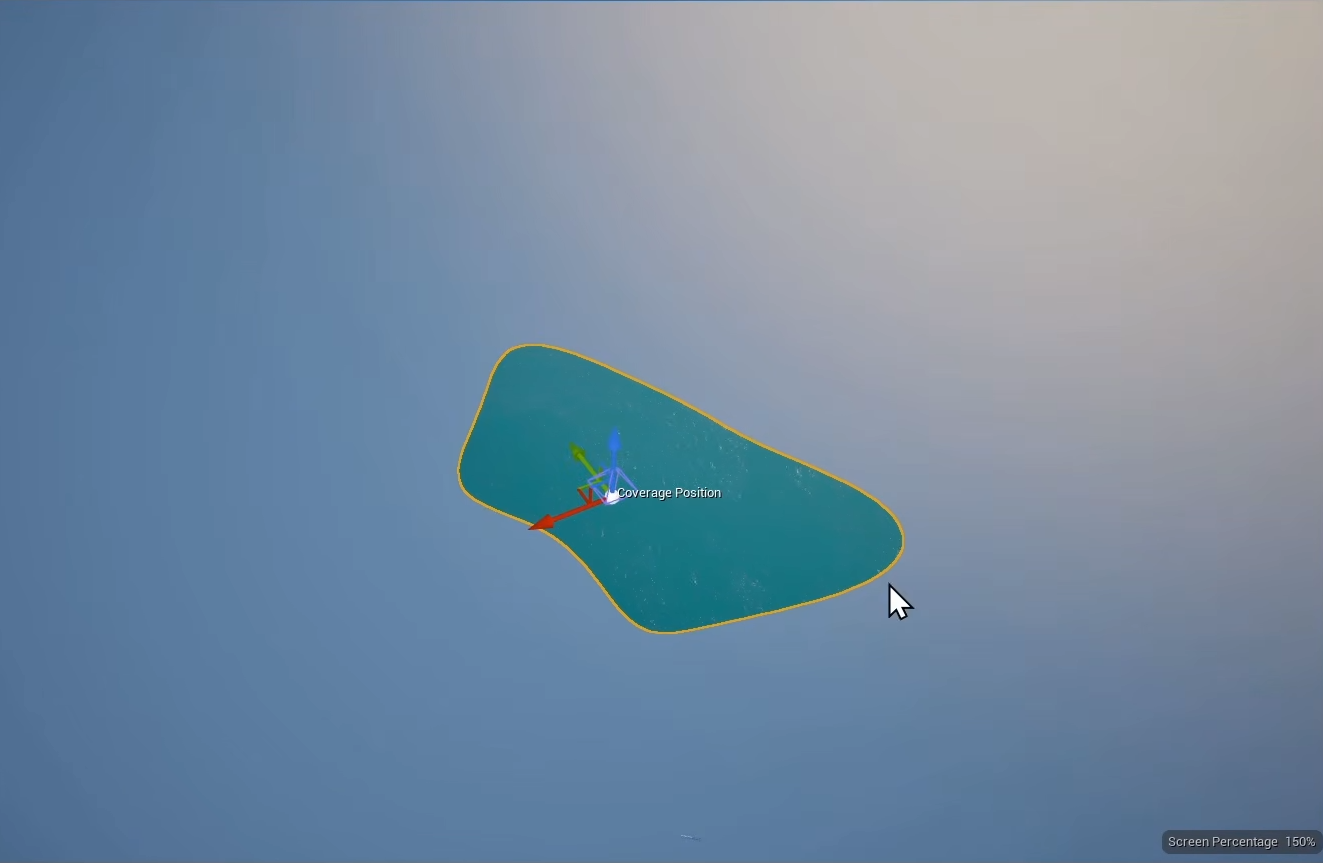
Custom allows you to choose your own custom mesh, mostly used for pools or smaller bodies of water with odd, non uniform shapes. Just be sure to have a high enough triangle density so that the waves displace correctly. A mesh density that is too low will result in weird displacement and a warpy look. With Custom enabled, Mesh Center is always set to Fixed.
When using a Custom mesh, it is recommended that you disable nanite on this specific mesh. World Position Offset does not work very well with Nanite meshes at the moment.
Disc (Legacy)
The original mesh system EasyWaterscape had when it launched. This is here for legacy purposes. If your project works better with this mode, then you always have the option to revert to this earlier method. There are some
In Unreal Engine 5.8, when you add EasyWaterscape to your level, you might encounter the following pop up:

This is only necessary to enabled IF and ONLY IF you need to use the legacy Disc Mesh approach.
Changing that project setting can affect how other water systems look. So it’s more of a last resort kind of thing.
Mesh Density
How many triangles each water tile has. Change viewmode to Wireframe to see the effect.
Higher gives sharper wave shapes and crests, both up close and far away. Each step up costs 4 times the triangles.
This is the only setting that adds detail in the distance further from camera.
Mesh Center
Camera Follow
EasyWaterscape offers three different kind of mesh centering options. The first being its default setting ‘camera follow’. This does as the name implies, the center of your mesh (‘Clipmap’, and ‘Disc (Legacy)’ only) follows the camera, the detail will always be highest near the camera, and the water extends forever towards the horizon, ideal for very large bodies of water.
Center Actor
Sometimes, especially for Cinematics purposes, you don’t want the highest detail to be closest to the camera. Sometimes you may want the high level of detail to be around a specific actor. With Focus Actor selected, you can use the eyedropper tool to select an actor in your level. The center of the mesh (where the highest detail is) will then be centered around your targeted actor.
If this selected actor is a Cine Camera Actor, its functionality changes to something pretty cool. The mesh center will be where the CineCameraActors focus point is. This means the water will always have its densest triangle count wherever the camera is focused at, this is especially helpful when shooting at longer focal lengths.
When using the CineCameraActors in Sequencer, simply using the eyedropper tool to select the CineCameraActor won’t work, everytime you save your level, the camera will get de-selected from the Focus Actor list, this is due to the way spawnable actors in sequencer behave.
There is a specific order of operations for correctly attach the spawnable CineCameraActor from sequencer:
Add EasyWaterscape to the sequencer by drag and dropping it from the Level Outliner, into your sequence:
In the track list, right click, and add
Now you can add the CineCameraActor spawned by your Sequence.
Test it out! Change the Focus Distance variable, and you’ll see the mesh center move along with it.
Fixed
Setting the Mesh Center to fixed means there is no position offsetting, and the mesh will only show up where the BP_EasyWaterscape actor is in the level. Makes it easy to place it wherever you like. Using Mesh Mode Custom uses Fixed automatically.
Additional Mesh Settings
Mesh Scale:
Clipmap Only. Scales the whole water mesh pattern. Change viewmode to Wireframe to see the effect. Lower values gives finer triangles near the center, but a smaller detail area and a shorter reach. Larger values extends the range. Detail far away doesn't change (use Mesh Density for that). This has no impact on the size of the waves.
Mesh Outer Rings:
Clipmap Only. How far out the water mesh reaches. Change viewport mode to Wireframe to see the effect. Each extra ring amount doubles the distance it extends to, and adds the same number of triangles every time (more at higher Mesh Density).
Raise this if you can see the edge of the ocean, for example, if the camera is at a higher altitude above the water level. Try to keep this as low as you can get away with for best performance. You may notice a small gap in between the furthest ring and the outer mesh. This is the sign where you need to extend the Mesh Outer Rings value a bit higher, if you see it. This is by design.
Morph Blend Range
Clipmap Only. Change viewport mode to Wireframe to see the effect.
Note: This wont be visible in Unreal Engine 5.8’s wireframe mode, unfortunately. Only 5.7.
How gradually each ring of tiles tessellates into its into the coarser rings around it, as a fraction of the ring's width. A value of 1 blends across the whole ring: smoothest, no visible steps, but detail drops off sooner. Lower values keep full detail for longer, but the change happens faster and can show as lines or popping while the camera moves. Recommended range: 0.5 - 1
Extend Detail Area
Clipmap Only. USE WITH CAUTION, EXTREMELY PERFORMANCE INTENSIVE. Extends the full-detail area in the center of the water mesh nearest the camera before the rings start getting coarser. Each step doubles its range, costs roughly 4× the triangles.